Root Samsung Galaxy S9 and S9 Plus: If you are the person who owns Samsung Galaxy S9 or S9 Plus and looking to root them with the best method then you are at right place. In this article, I present you a tutorial on “how to root samsung galaxy s9 and s9 plus“.
Table of Contents
Root Samsung Galaxy S9 and S9 Plus

There are many methods which allow you to root your samsung galaxy s9 and s9 plus. But using the TWRP and then flashing the supersu is one of the best methods for rooting any smartphone.
Samsung has released the kernel sources of both Samsung Galaxy S9 and S9 Plus. And the developers have successfully developed the TWRP image for both the smartphones.
Hence, you can easily root your Samsung Galaxy S9 and S9 Plus.
Important Note: When you root your s9 or s9 plus using this tutorial then all the data will be lost. So, it is important to backup all the data of your s9 and s9 plus. And also, the warranty of your smartphone will be void.
Steps to Install TWRP Samsung Galaxy S9 and S9 Plus
- The first thing is to enable the developers option on your s9/plus.
To do so, go into settings and then to about phone. Then click on system information.
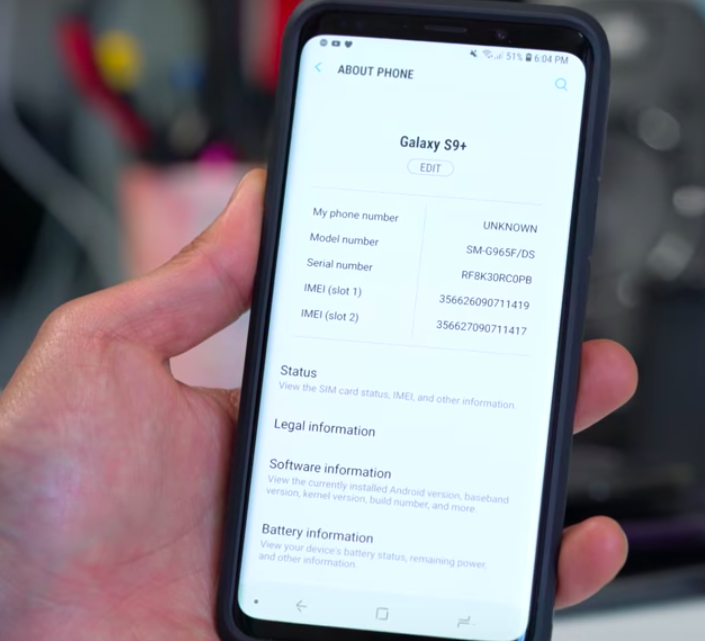
Tap on Build Number for 7 times, it will enable the developers option.
- Go into settings, at the bottom, click on developers option.

Enable OEM unlocking. - On your windows pc, download samsung odin. Mac users can download odin for mac.
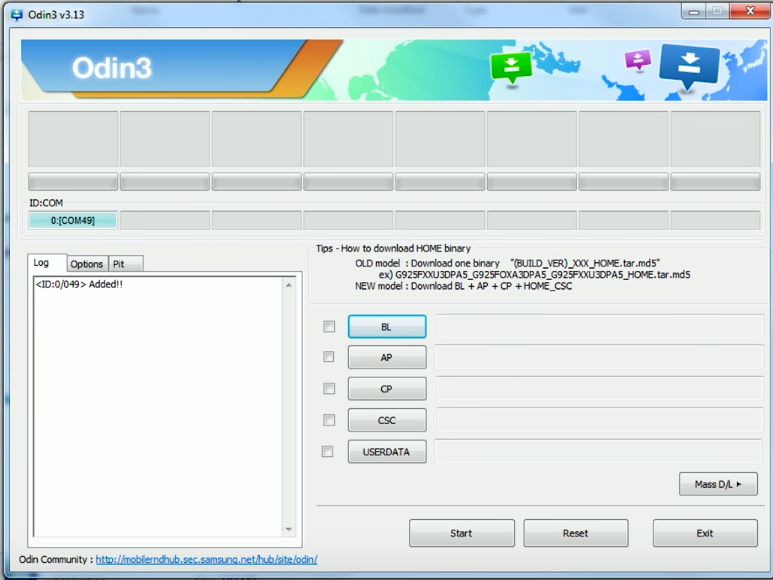
- Now download the Samsung USB drivers on your pc.
- Now download the TWRP for Samsung S9 or S9 Plus from the downloads section.
- Next step is to restart your samsung galaxy phone into the recovery/fastboot mode.
To do so, press VOLUME DOWN + POWER BUTTON + BIXBY BUTTON for few seconds till your smartphone is taken into fastboot mode. - Open the Odin tool. And select the AP button. And load the TWRP file.
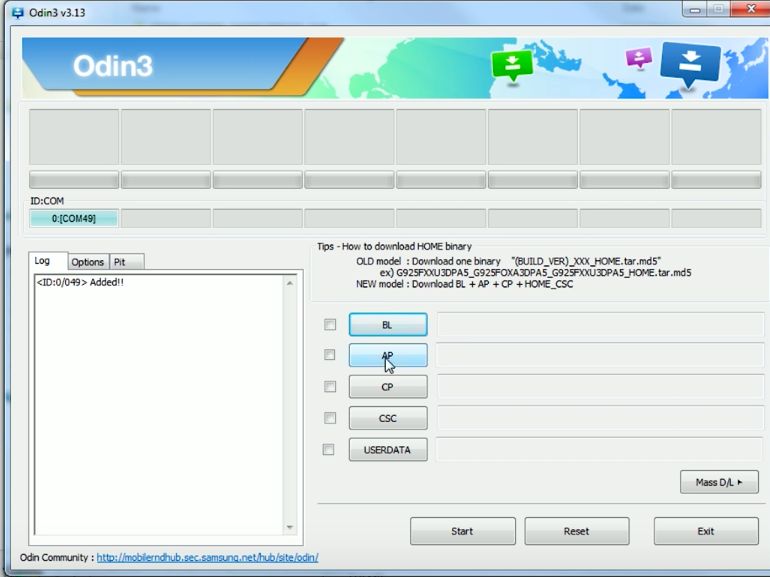
- Next step is to connect the smartphone to the PC. You will see a notification on the left side of ODIN tool.
- Make sure to press VOLUME DOWN + POWER BUTTON + BIXBY BUTTON on smartphone and then press START button on ODIN.
It will start the flashing process of TWRP on your samsung smartphone.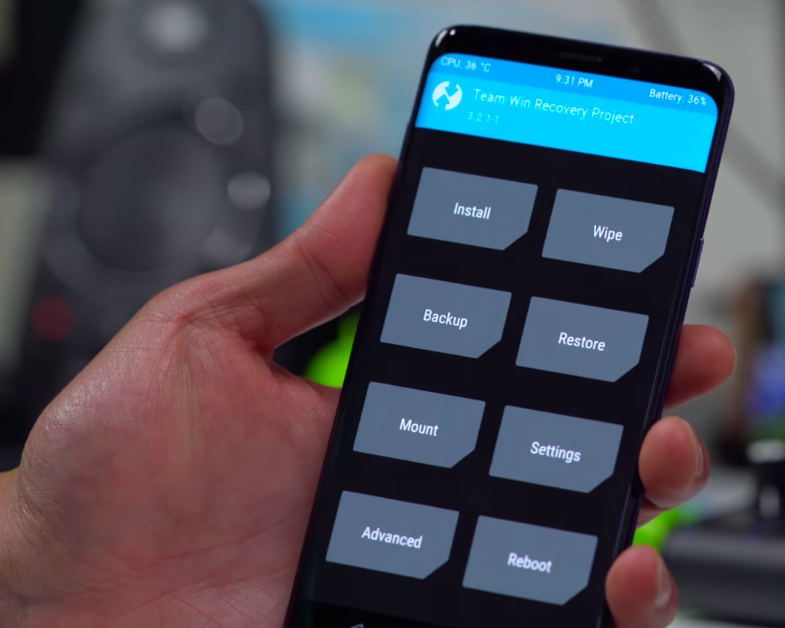
- Once you are in TWRP, click on WIPE and format the data.
Once the wiping is done, do not click on reboot. Go to home and then click on Reboot. And then click on Reboot To Recovery. - Now you have to download dm verify zip file. Connect your phone to pc and copy the dm verify zip file into smartphone.
- Now flash that zip file of dm verify.
- Now TWRP is successfully installed on your s9 or s9 plus.
Downloads:
Also See: Blackmart APK for Samsung Galaxy Phones
Step to Root Samsung Galaxy S9 and S9 Plus:
- Download the OEM Zip file for your smartphone.
- Boot your S9/Plus into TWRP.
- Click on INSTALL.
- Select the OEM zip file which you have downloaded.
- Click on the SWIPE TO FLASH button at the bottom.
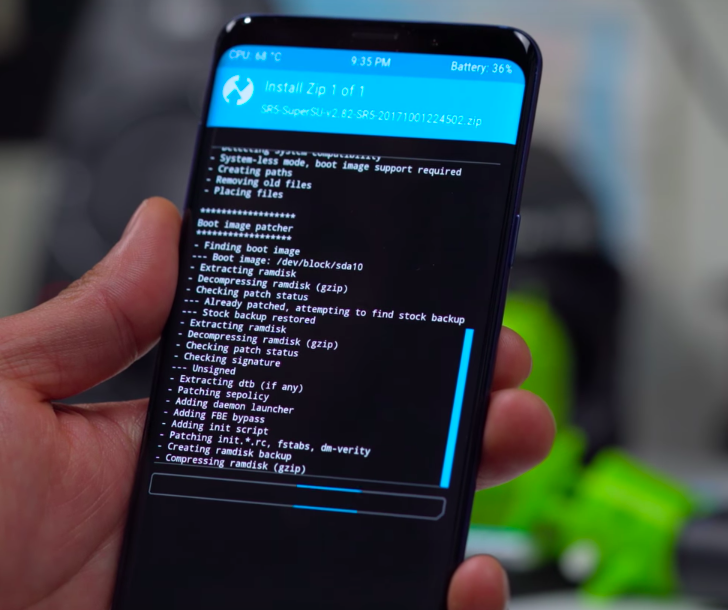
- Whenever it asks for any permissions, select YES.
- Now reboot your smartphone.
- You can see that your Samsung Galaxy S9/Plus is rooted now.
Downloads:
Also See: Dolby Atmos APK and GCam APK for Samsung Phones
Also, there are some apps like framaroot, 360root, and towelroot which help to root your smartphone.
Final Verdict:
This was the easiest guide on how to root samsung galaxy s9 and s9 plus. I hope you have successfully rooted your galaxy s9 or s9 plus. If you get stuck with any error then comment down in the comments section. I will help you to fix your error in the best possible time. If you found this post of galaxy s9/plus root to be helpful then subscribe to our blogs to receive the latest tweaks on regular basis.
Leave a Reply