Root Bluestacks: N doubt, bluestacks is an amazing application for windows pc. But when you root the same bluestacks then the sky is the limit for the customization and tweaks. After following this guide, you shall get to know how to root bluestacks 4 or bluestacks 3 or bluestacks 2.
Table of Contents
How to Root Bluestacks 2/3/4?
What is Rooted Bluestacks?
I have already written a dedicated post on downloading and using bluestacks 3 on a windows computer. Now is the time for using the rooted bluestacks.
Rooting an android phone allows accessing the inaccessible features of Android. And when you root the bluestacks emulator then you can do the same things on a computer.
Also Check: Cisco Packet Tracer and ismartviewpro for pc
Why root bluestacks?
- There are few modifications that can be done only by root access. And hence we root bluestacks.
- Also, there are many apps in the play store for which rooting is mandatory.
- To change the clock speed, rooting is required.
Also Check: XMeye for PC
Downloads:
- Windows Computer
- Bluestacks 2
- Kingroot App
Must See: Tubemate for PC
How to Root Bluestacks 2 or Bluestacks 3?
- You have to install the latest version of kingroot application from the downloads area.
- Open the downloaded kingroot app using the bluestacks and bluestacks will install the kingroot.
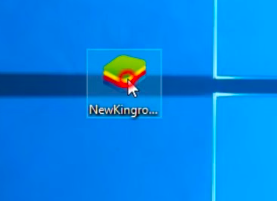
- Open the kingroot app in the bluestacks software present on your pc.
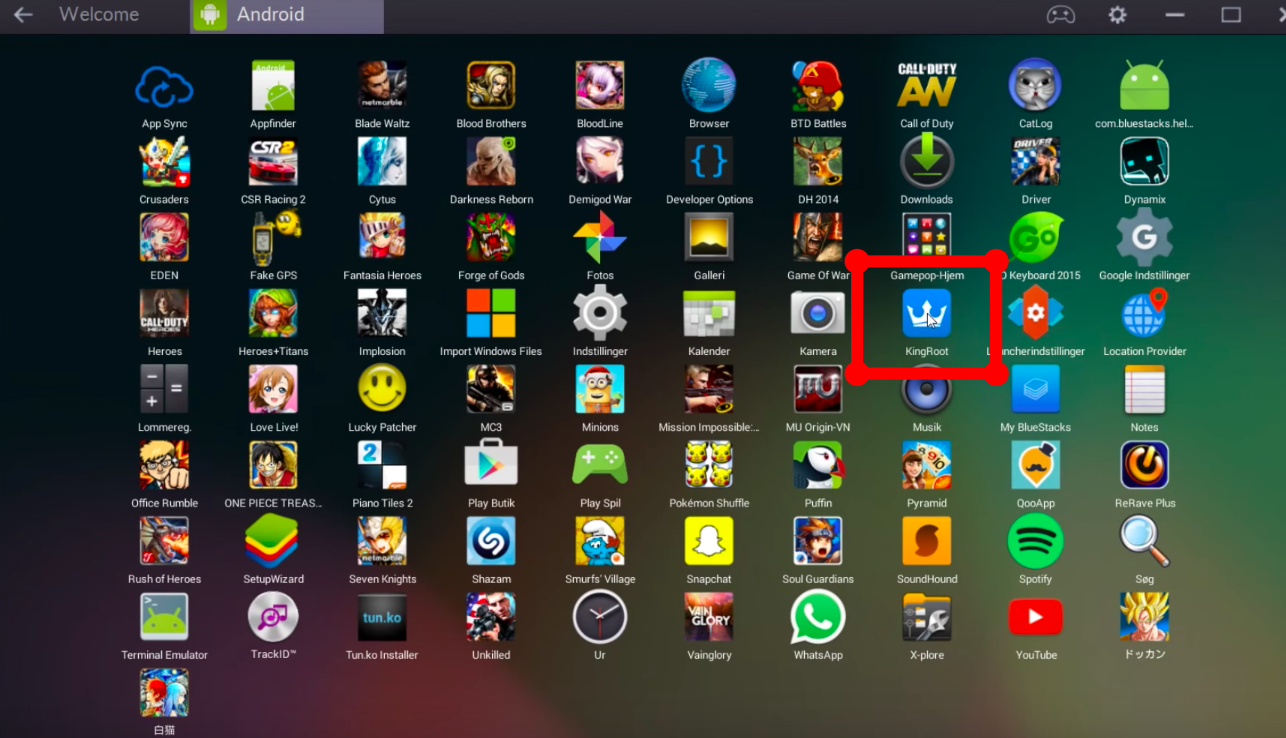
- Now open the kingroot app.
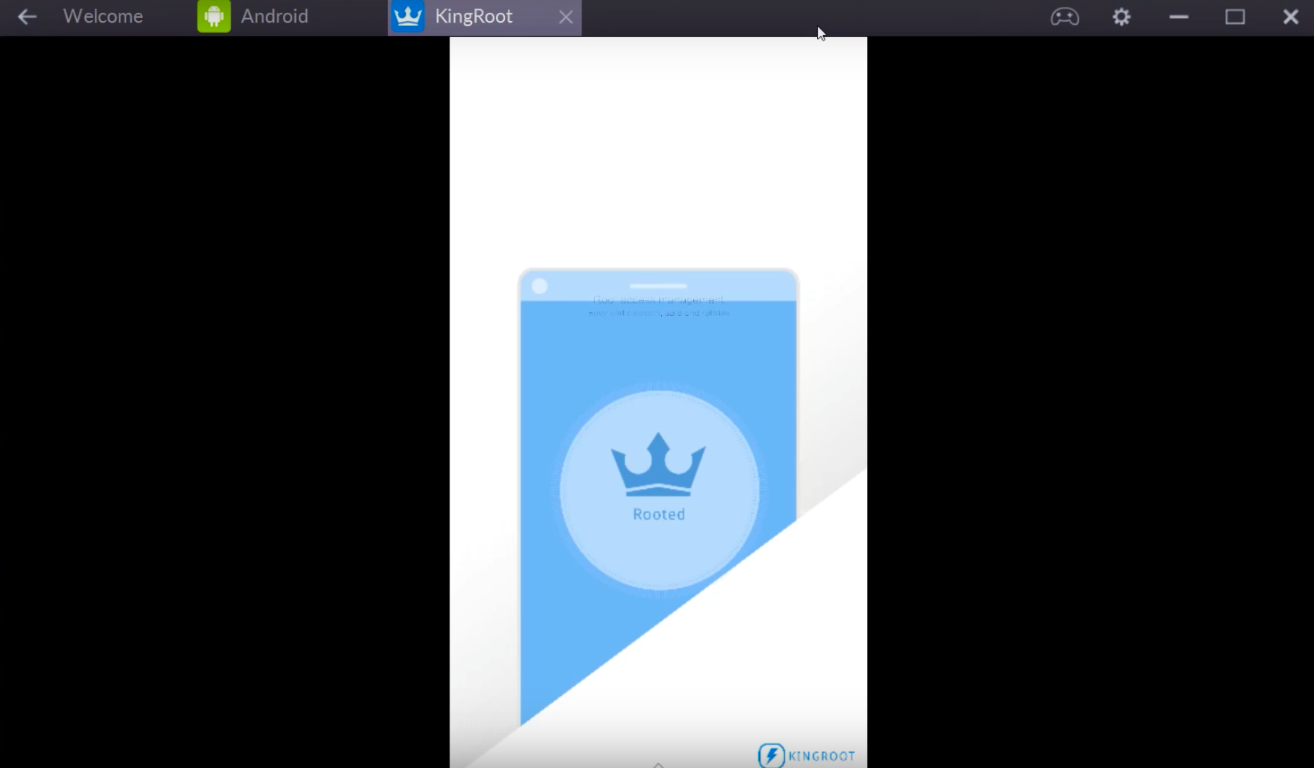
- Click on the root button present in the app.
- And kingroot will start rooting bluestacks.
- The rooting will take less than 2 minutes.
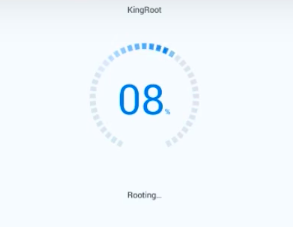
- After few moments, you will see that rooting is completed.
- Reboot your bluestacks emulator.
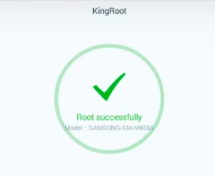
- Upon reboot, you can see that bluestacks is rooted successfully.
Also Check: Kinemaster for PC and Snapseed for Windows
How to check if bluestacks is rooted successfully?
On Smartphones, we usually check the root access using the root checker app of the play store. And same is the case with bluestacks.
Open bluestacks and then open the play store.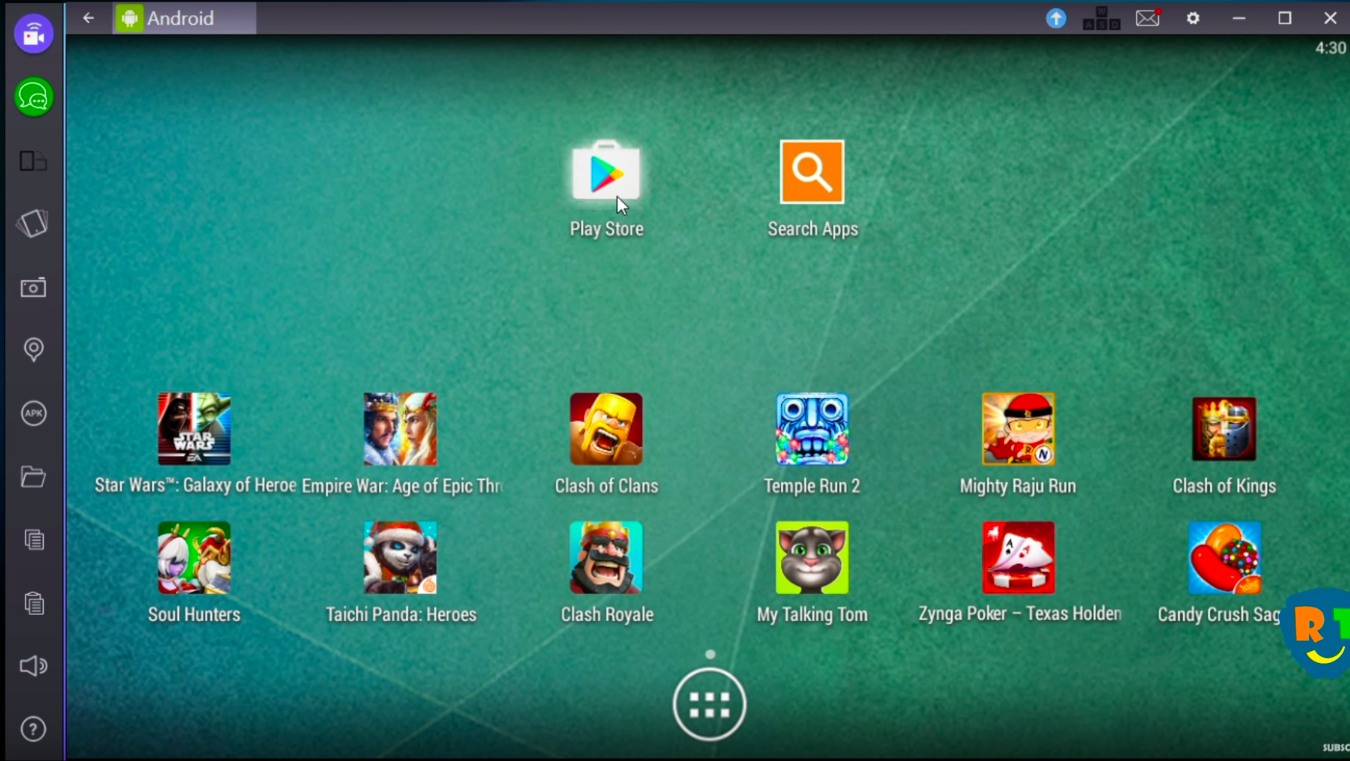
In the search corner, search for root checker app. Or you can download the apk file of root checker.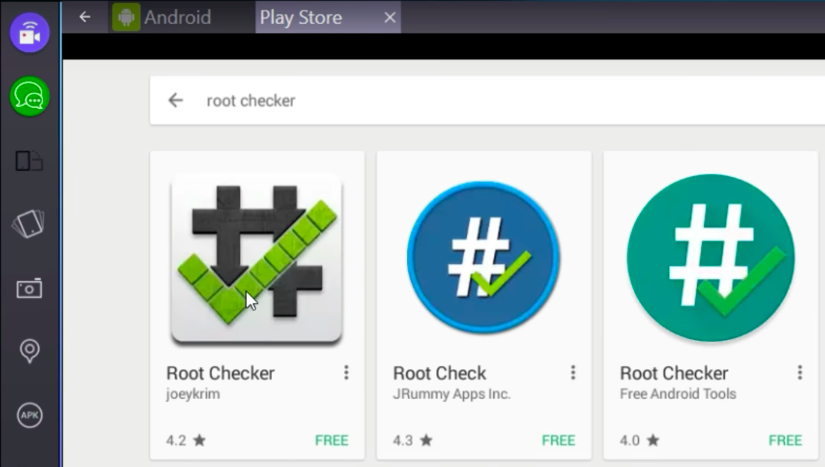
Open the root checker app in bluestacks and click on root verification.
Now, you can see that bluestacks is rooted successfully.
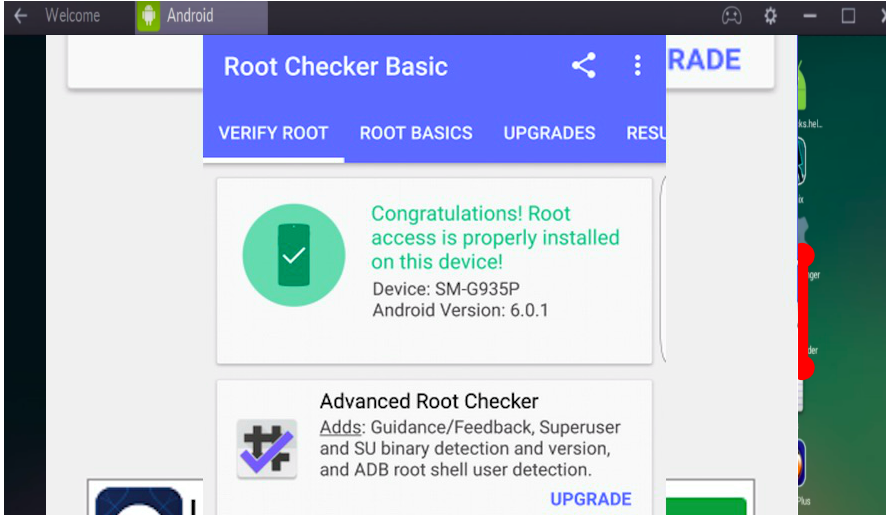
Congratulations for rooting bluestacks on windows pc.
Also Check: PayTm app for PC
Final Verdict on Bluestacks Rooted:
In order to root bluestacks, you have to follow each and every single step shown here in this post. I hope that you have enjoyed this guide on how to root bluestacks 2 or bluestacks 3. Now you can do wonders with the rooted bluestacks on your windows computer. If you get any difficulty to root bluestacks then you can let me know in the remarks section below.
Leave a Reply