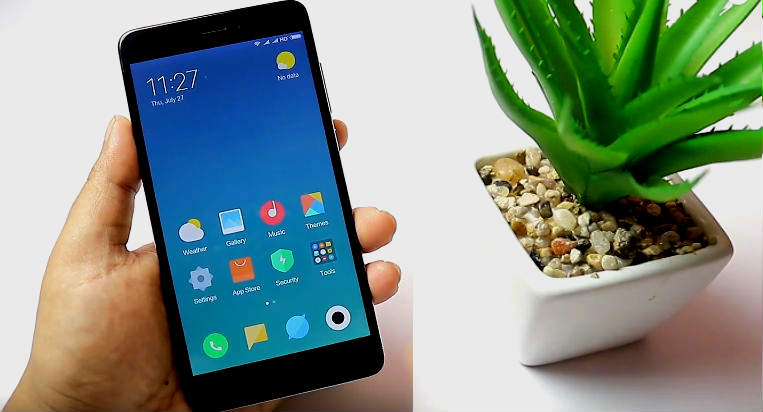
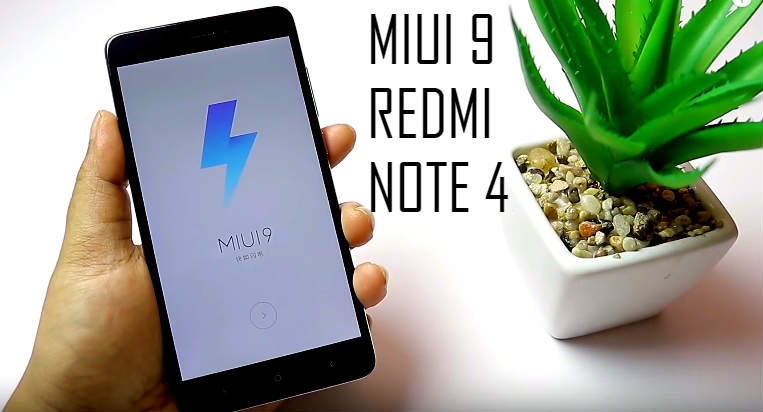
Xiaomi Redmi Note 4 is the best selling Flagship Smartphone of 2017. This is the best phone in the price segment of 15,000 INR. And you may already know that MIUI 9 is officially launched in China. MIUI 9 is one of the biggest updates from Xiaomi. You should definitely check the 3 extraordinary features added in MIUI 9. And the beta version of MIUI 9 with Android Nougat is available for Redmi Note 4. You can download/install/flash MIUI 9 ROM on your Xiaomi Redmi Note 4.
Also Check: Download GIFs from Twitter
The process of “Installing MIUI 9 on Xiaomi Redmi Note 4” is very much easy. This method does not require MI Flash Tool for installing MIUI 9 on Xiaomi Redmi Note 4. You can easily download MIUI 9 on Redmi Note 4 with TWRP. It will not take more than 5 minutes.
Also See: Android Oreo for MI3/MI4
Table of Contents
Prerequisites:
- Redmi Note 4 with an unlocked bootloader. This is a very important requirement for flashing the ROM on any android phone.
- Custom Recovery TWRP on Redmi Note 4. If you have the TWRP, then you can flash MIUI 9 on Redmi Note 4. TWRP makes the job easy for installing any custom ROM on any Android Phone.
If you have both the above requirements then go ahead and flash MIUI 9 ROM on Xiaomi Redmi Note 4.
Also Check: How to install MIUI 9 on any Xiaomi Phone
Video Tutorial for flashing MIUI 9
Also Check: Enable Dark Mode on Android
Download MIUI 9 on Xiaomi Redmi Note 4
I have already said It is very easy to flash/install MIUI 9 on Redmi Note. Just follow each and every step. Do not skip any step. If you skip any step while flashing MIUI 9 then it may lead to boot loop or any other issue. So I recommend you to follow the guide properly.
- Make sure to have all the requirements as mentioned in the prerequisite section.
- The very step is to navigate to the downloads section of this page. And download the MIUI 9 ROM and G Apps. Save the downloaded ZIP files on to the SD Card of your Android.
Also Check: WhatsApp Conference Call Feature - The next step is to Enter the TWRP Recovery. To do so, switch off your Redmi Note 4. Once Redmi Note 4 is completely turned off, press Volume+ key and Power button simultaneously. Hold both the buttons for few seconds till you receive a vibration feedback from the phone.
Also Check: MIUI 9 Latest Stock Wallpapers - In the TWRP recovery mode, all the data should be wiped. Click on WIPE then Advanced WIPE. Select DALVIK, Data, Cache and Internal Storage. Swipe the blue button at the bottom to wipe everything.
- Go back to the home screen of TWRP. Select INSTALL, navigate to the downloaded MIUI 9 ROM Zip File and select it. Once you select it, you will see a blue button at the bottom. Swipe the blue button to start flashing the MIUI 9 ROM on Redmi Note 4. Flashing MIUI 9 ROM will take about 3 minutes(Max). Once MIUI 9 ROM is flashed. Go back and flash G Apps with the same technique.
Also Check: How to get Android O Virtual Box on Desktop - Once the flashing of G Apps is finished on Redmi Note 4, hit on Reboot System.
- The MIUI 9 Boot Animation will appear on the screen. It will take you through the basic steps of phone setup. Fill all the details including your MI Account details.
- Welcome the home-screen of MIUI 9 on Xiaomi Redmi Note 4.
Also Check: IOS Emulator for Xiaomi - Congratulations for flashing/installing MIUI 9 on your Redmi Note 4.

Also Check: Lineage OS 15(Android Oreo) for Redmi Note 4
Also See: How to hide apps on Android
Downloads:
Also Check: Virtual Number Experience on Xiaomi
Final Verdict:
Many of you have been waiting to get hands on with MIUI 9 on your Xiaomi Redmi Note 4. And the wait is over. Finally, you can download/install/flash MIUI 9 on Xiaomi Redmi Note 4. This is the easiest method of flashing MIUI 9. Because it does not demand MI Flash Tools or ADB drivers for flashing MIUI 9 on Redmi Note 4. This is the official ROM from Xiaomi. Go ahead and flash/download MIUI 9 on RN4.
Also Check: TWRP for MIUI 9
Let me know your views on this ROM in the comments down below. Soon I will be back with the full review of MIUI 9 on Redmi Note 4. So stay subscribed to this blog.

Leave a Reply